Designing Business Cards
Posted: May 16, 2015 Filed under: Professional Practice, Subject | Tags: business cards, moo.com, postcards, professi Leave a commentI designed my business cards using moo.com, they offer different templates and layouts for business cards, post cards, stickers and accessories. I ordered 200 business matte business cards and 50 matte postcards with the following imagery:
Business card back
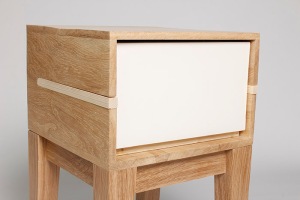
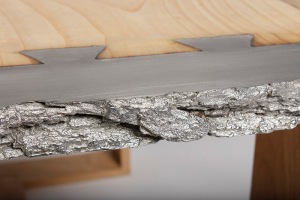
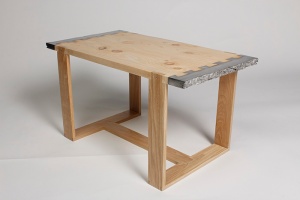
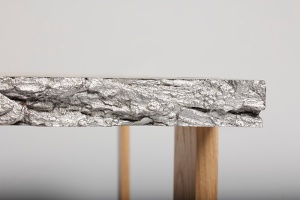
4 front images- I decided on two images for each piece; a whole and a close up.
postcard back:
3 postcard fronts- I felt that these photos would look best on a larger postcard as they are detailed and have interesting compositions.
Creating My Website
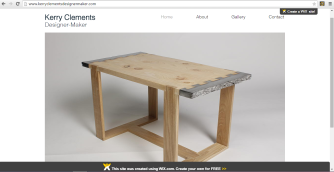
Posted: May 16, 2015 Filed under: Professional Practice, Subject | Tags: professional, website, website design, wix, wix.com Leave a commentI have set up a website to showcase my degree work on and begin to make a professional online presence for myself. I used Wix.com as it had lots of website templates to chose from, is easy to navigate and customise and gives a professional appearance. I chose to have an ‘about’, ‘gallery’ and ‘contact’ page and currently have my degree show and second year Beyond Fiction work uploaded. I will be documenting and adding more of my past work.
I chose http://www.kerryclementsdesignermaker.com for my domain name, I made the decision not to call myself a furniture maker despite it being my degree show work, as I don’t want to limit the scope of my future practice solely to designing and making furniture. I bought my domain name as it had more of a professional appearance on my business cards as opposed to having .wix.com on the end of the web address.
Show Set Up
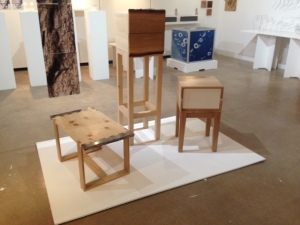
Posted: May 16, 2015 Filed under: Exhibition, Field | Tags: degree, exhibition, show Leave a commentI’ve finished setting up my work for the show and I’m pleased with the overall appearance. Due to time management issues I was unable to make my wall unit; in the time I had to finish my pieces I opted to concentrate on my coffee table and bedside as I felt they were my strongest pieces and I had also fallen out of love with my design. I had to alter my plans for my visuals as I didn’t photograph my work in time to send off for the fabric from bagsoflove.co.uk, instead I printed the image over 5 A3 sheets and made eyelet holes in them to attach them together.
I had some trouble hanging my imagery as I planned on using invisible thread but due to the plastic nature of it it was difficult to knot and a piece snapped shortly before the deadline. I persevered with the thread, however, and attached it to the board under my work to keep it from twisting.
A last minute decision was made between the tutors and myself to include the chest of drawers I made before Christmas. I had reservations about including it as I didn’t feel that it fit in with the theme of hybridity and I also wasn’t sure whether I wanted it to be marked as part of Subject or Field, however it was agreed that it added height to the overall look of the collection.
Bedside Table Assembly
Posted: April 27, 2015 Filed under: Exhibition, Field | Tags: assembly, bedside table, dowel, furniture, mortise and tenon, oak, wood Leave a comment
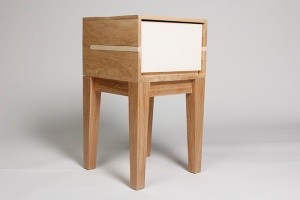
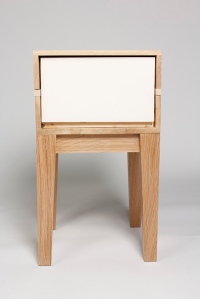
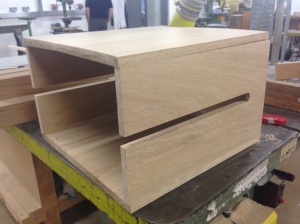
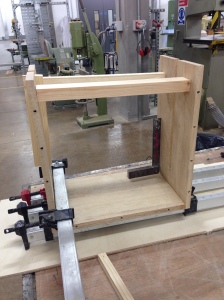
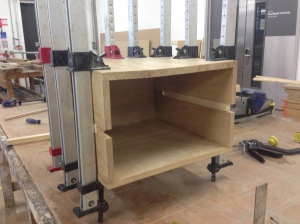
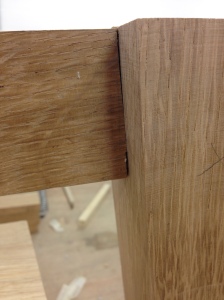
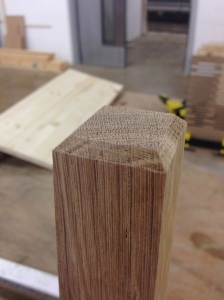
This week I routered the channels for the drawer runners to slide through and began to join the top of the bedside table together. Like in the tall chest of drawers I made in first term, I used dowels to join it as it prevents the wood from moving.
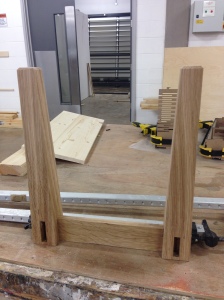
Then I moved onto the legs, they were tricky to assemble as the legs taper and this meant that supports (skirt) between them had to be angled to accommodate this. The angle was hard to cut accurately on the band saw so I finished cutting the tenon out with a chisel.
I angled the feet of the legs and also kept the wood the same thickness of 15mm like the chest of drawers to give a sense of continuity between my pieces.
Ceramic Drawer Progression
Posted: April 20, 2015 Filed under: Exhibition, Field | Tags: ceramics, clay, furniture, glaze, hybrid, kiln, porcelain, wood Leave a comment
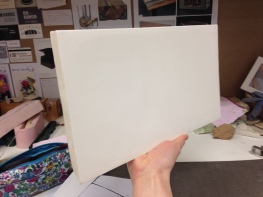
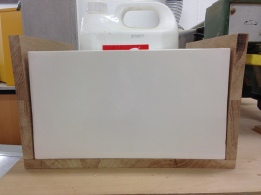
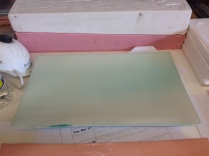
I successfully glazed a drawer front which fired to 1040 so that it wouldn’t slump in the middle. I’m going to use this piece as the final drawer front as the off-white colour of the clay works well with the oak body of the bedside table.
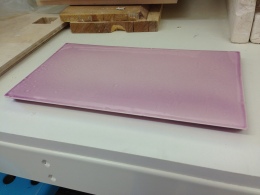
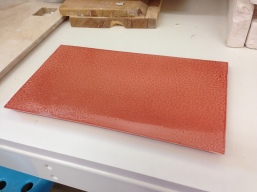
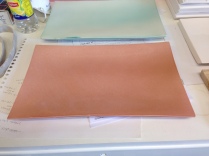
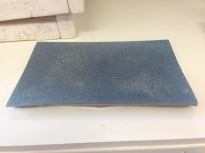
I also did some coloured glazes to demonstrate what the table would look like with oak against colour. The purple and coral below are a clear and underglaze mix on white St Thomas slip that fired at 1100, there was slight warping at this temperature however it isn’t that noticeable.
I also tested out some colours on porcelain but they slumped significantly due to being fired to 1280. To get around this I am going to try propping the porcelain up with a crank support underneath and fire it to 1260.
Bristol Hackspace
Posted: April 18, 2015 Filed under: Professional Practice, Subject | Tags: bristol, bristol hackspace Leave a commentI have been looking into the Bristol Hackspace as option for continuing my practice after graduation. The space is located near Bristol town centre so it is local to me. It provides tools, heavy machinery, laser cutters, 3D printers, CNC milling and skillshare workshops to its members and provides you with a community of people committed to sharing knowledge. Membership costs £10-20 per month and around £2 for one-time use.


The space would be beneficial to me as it would allow me to carry on designing and making furniture, however it is not a studio space and therefore any work made would have to be stored away or taken home. Access to the laser cutter and 3D printers would enable me to keep my skills with them up to date when I no longer have access to CSAD’s facilities.
Jane Crisp- Artist Study
Posted: April 10, 2015 Filed under: Professional Practice, Subject | Tags: Jane Crisp, trug, wood Leave a commentI read an article in Crafts magazine about recent graduate and designer maker Jane Crisp. She uses natural materials like wool and wood and specialises in her own take on hand crafted wooden trugs, ‘amplifying traditional techniques in a contemporary way’. I can draw similarities between her work and my own in that she is also interested in the properties of materials and has always been drawn to working with wood, being fascinated by its ability to bend with steam.


After graduating from Buckinghamshire New University she continued her practice, making in a friends’ carport and then her garden shed. When reading the article I was drawn to her work ethic and her dedication to her practice, working long hours through the winter and saying, ‘I was working outside in the sleet and snow- totally ridiculous. I didn’t make any money but it was worth it’. I admire her dedication to making what she loves, knowing that it wasn’t making any money at the same time. This has caused me to think about to what extent could I carry on making for myself if I knew there was no money in it. I have thought about this in terms of after graduation as I would like to carry on making, however my work needs to be earning me an income and this is unlikely to happen straight away.
Sand Casting Workshop and Aluminium Pour
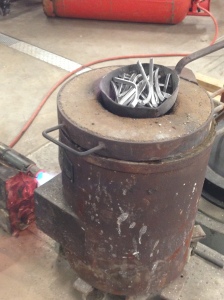
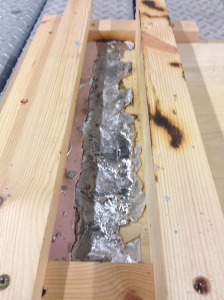
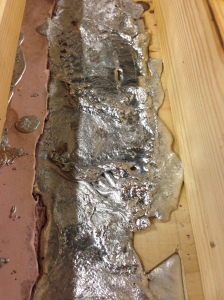
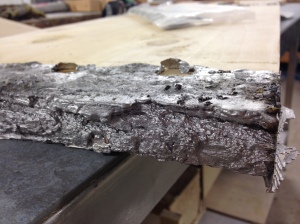
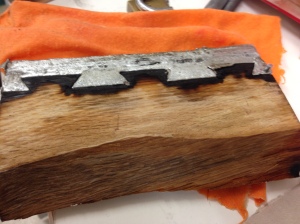
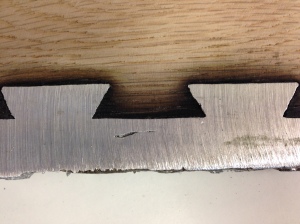
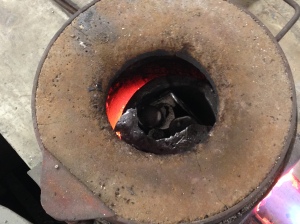
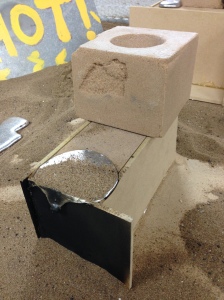
Posted: March 30, 2015 Filed under: Exhibition, Field | Tags: aluminium, dovetail, sand casting Leave a commentFollowing on from casting directly onto wood using a metal alloy, I tried the same method with some scrap aluminium I had available to me. This would cut the cost down as the amount of metal alloy needed would be over £100. Due to the high melting point of 430 degrees, it charred the wood and so it isn’t a viable option as this would weaken the wood and wouldn’t be able to support the weight of the metal.
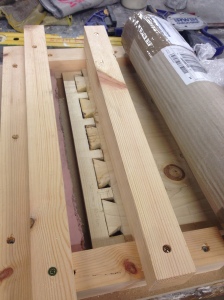
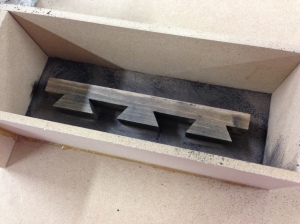
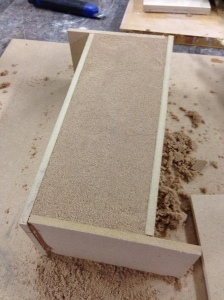
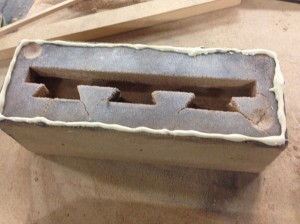
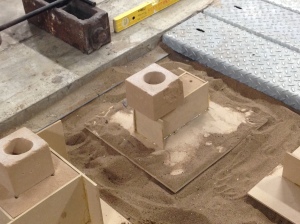
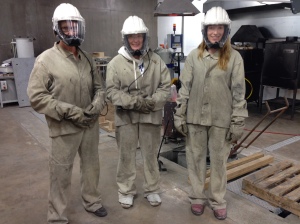
This week I took a sand casting workshop to learn the process of casting aluminium. I built up a box around my dovetail wood and covered it with graphite powder to prevent sand from sticking to it. Then I built up layers of compacted sand mixed with silicate over it and sprayed it with carbon dioxide to harden it.
The mould is in two parts so that the object can be removed and air holes are drilled for the aluminium to push the air out of. A pouring hole is attached to the top and then it’s buried in sand to catch any spillages. The mould then has to be broken up to remove the cast object.
Change of Exhibition Plans
Posted: March 27, 2015 Filed under: Exhibition, Field Leave a commentAfter presenting our ideas for our show spaces, we have been given a shown plan of where we will be situated in the gallery. Due to the necessity for wall and corner spaces by other students my work will be situated in an open area in the middle. In terms of my original plan this means my wall piece will be separate from the rest of my work so that it can go on the wall in the corridor. This also means that my picture hangings will hang off the ceiling/lighting, however this could be done in such a way that they create ‘walls’ to separate my work off from others around me.

