Coffee Table Metal Casting
Posted: May 7, 2015 | Author: kerrysmakerblog | Filed under: Subject | Tags: alloy, coffee table, furniture, metal, pour, silicone, wood | Leave a commentToday I poured the metal ends of my coffee table, melting the alloy over a furnace in a large ladle.
The initial pour wasn’t successful as the metal got under the silicone, causing it to float and not fill the space. To get around this I set up a jig to hold the wood and silicone in place.
The next step will be to file down the metal and wood so they’re level then sand and polish them. When sanding my test pieces I found that using wet and dry caused metal shavings to discolour the wood, so I’ll try taping up the wood to protect it and vice versa when sanding the wood.
Bark Silicone Casting
Posted: March 25, 2015 | Author: kerrysmakerblog | Filed under: Exhibition, Field | Tags: bark, cast, drawer, furniture, hybrid, metal, silicone, wood | Leave a commentI cast the bark for my wall units’ drawer handle, I chose a piece that had an interesting bark texture and small branches protruding from it to make nice features when it’s cast in metal.
As with my smaller pewter casting test, I plan to use a plaster lid to make the piece hollow and also to force the metal into the details. It will need a few pour holes and risers along it to ensure the metal flows along the length.
Dovetail-Bark Casting Test
Posted: March 20, 2015 | Author: kerrysmakerblog | Filed under: Exhibition, Field | Tags: dovetail, furniture, hybrid, metal, mould, pour, silicone, wood | Leave a comment
This week I made a small mould to test casting the dovetailing and bark in one pour. The dovetail wood has a slightly smaller piece of wood stuck to it in order to make the metal hollow and reduce the weight and amount of metal needed. The silicone then lies next to the wood ‘hollow’ to take the cast of the bark. I put a lid on top with a pour hole so that the top of the cast is as flat as possible so that the metal casts relatively flat and minimizes sanding after.
I had to do a few test pours before it worked well; the metal didn’t flow into the entire mould so I added air holes to the lid so that any trapped air could get out and the metal would flow better. This improved the cast and meant I could see when the metal had run to both ends of the mould.
I’m really happy with the result, it picked up the bark detail and it shined up easily with a dremmel drill attachment. It will be harder to reproduce for the final coffee table as the mould will need to have more pour holes and air holes to ensure the metal flows throughout the length of it. This might require two or more people to pour at the same time at intervals along it.
Joining wood and metal
Posted: March 9, 2015 | Author: kerrysmakerblog | Filed under: Exhibition, Field | Tags: furniture, hybrid, hybridity, metal, pewter, pewter casting, wood | Leave a commentI’ve been trying out ways to join wood and metal together for my coffee table design which has metal cast bark ends. I experimented with dovetailing and cast wood in silicone to make a pewter cast.
The cast worked but because I cut the wood on the band saw it was hard to make the dovetailing neat and accurate and therefore hard to make the wood fit.
I decided to try pouring pewter directly onto the dovetailing, like product designer Hilla Shamia’s log and aluminium-cast furniture. She casts aluminium directly onto wood to create tables, stools and benches that are charred yet preserve the original form of the tree trunk. She says of her work, ‘the negative factor of burnt wood is transformed into aesthetic and emotional value’.
This method worked really well, the wood scorched slightly but I think this adds to the aesthetic. This method provides a secure way to join the wood and metal and allows me to sand them both down at the same time to give a smooth and even finish. The next step will be to work out how to cast the dovetailing and the raw bark simultaneously in one pour.
Metal Workshop Task
Posted: October 15, 2012 | Author: kerrysmakerblog | Filed under: First Year | Tags: forge, metal, steel | Leave a commentOur task in the Thursday afternoon metal workshop is to design and make a container, box or stand using the machines and techniques learned during the induction. This is my initial idea:
The box would be made from a flat net drawn out on steel and bent on the metal folding machine. Then the sections would be created by bending a continuous piece of steel at right angles.
Thinking about how the metal would be folded I thought that it would not be possible to create it from one whole piece, as once on side is bent up it would be in the way of the next side. However when I made a quick test box I realised it was possible by using a ‘tooth’ on the very end of the machine the width of the box, so that the first folded edge would pass down the edge of it when the second side was bent.
The middle section was made using the same machine by folding the metal in a particular order. As this is only an initial design, there are still some issues to be worked out, such as how the corners will be sealed and the type of finish it will have. I did some experiments on sheet steel to show the different mark-making effects that can be created using various methods.
I made these using rounded hammers, nails, a small metal punch, sand paper, and a piece of steel that I sawed into to create a repeat pattern. I can also heat up the metal using the small gas forge to change the colour similar to this:
(picture from http://www.arizonaresponsesystems.com/notes/noteshk/hkptr91build/pagehkptr91build.shtml)
Wood and Metal Induction Workshops
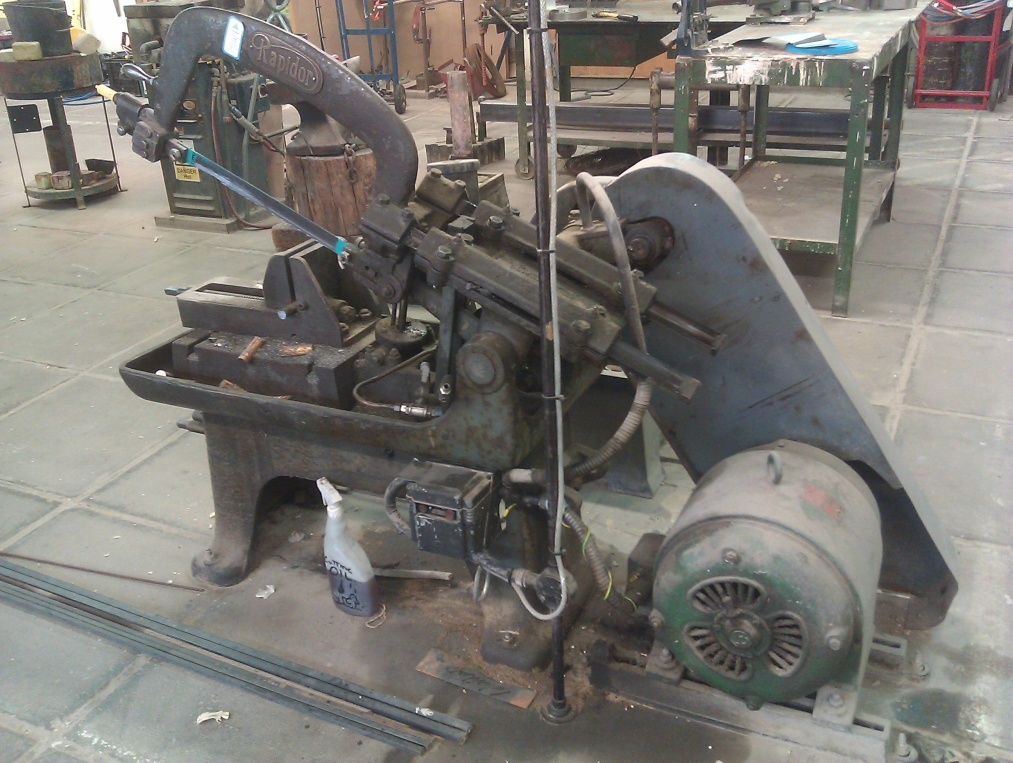
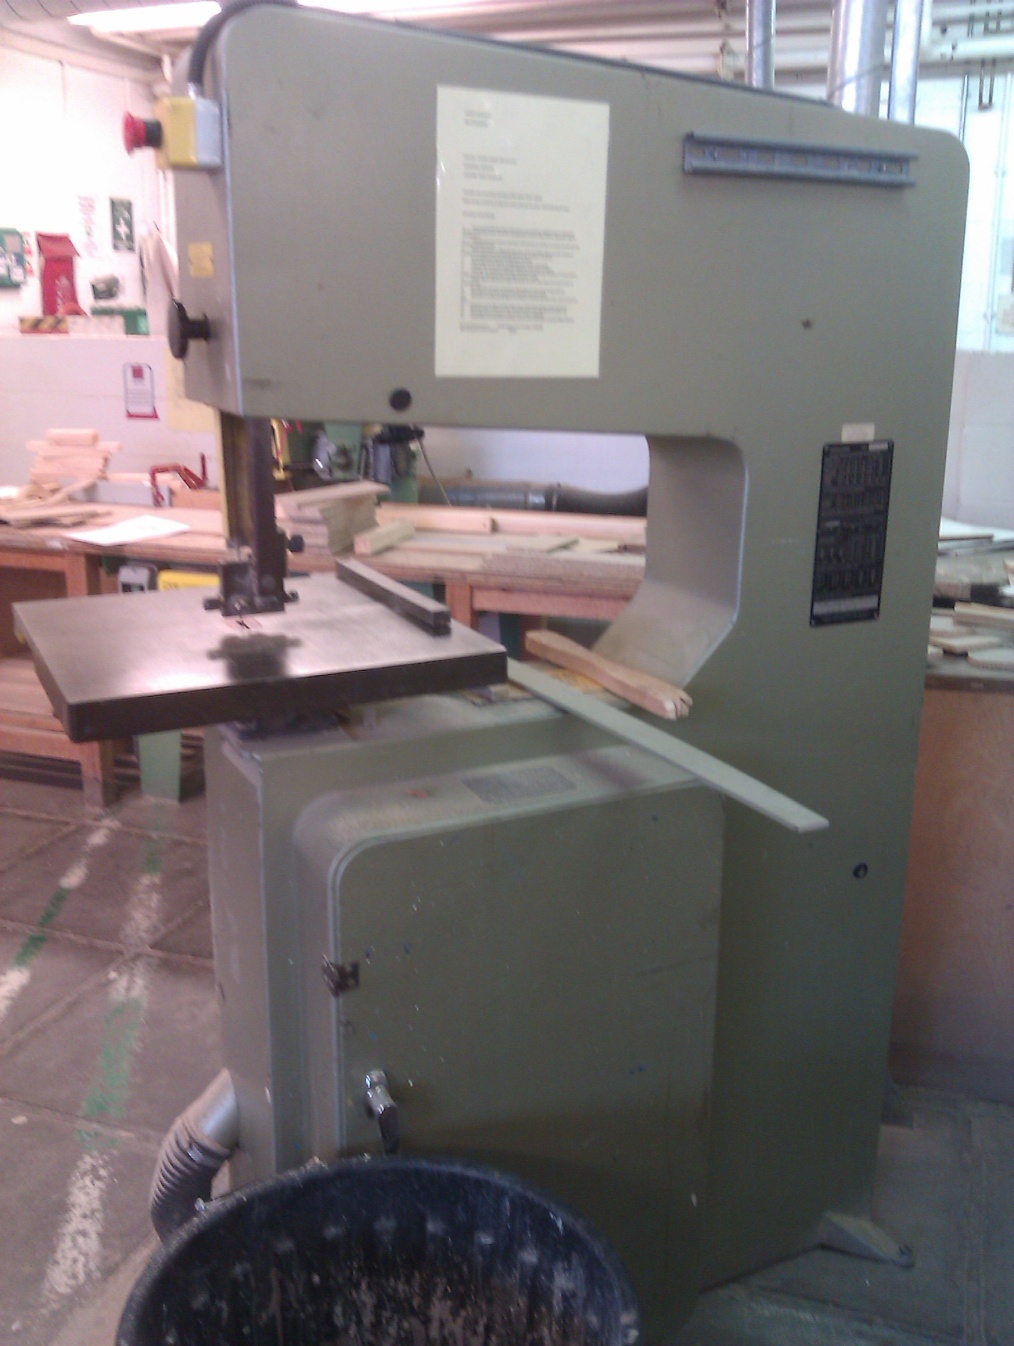
Posted: September 27, 2012 | Author: kerrysmakerblog | Filed under: First Year | Tags: band saw, laser cutter, metal, spot welder, wood | Leave a commentHad workshop inductions today to learn how to use the metal and wood machinery. I had a play about with the laser cutter trying to write my name in sheet steel and attaching bits together with the spot welder. Kept a bit to stick in my sketchbook 🙂
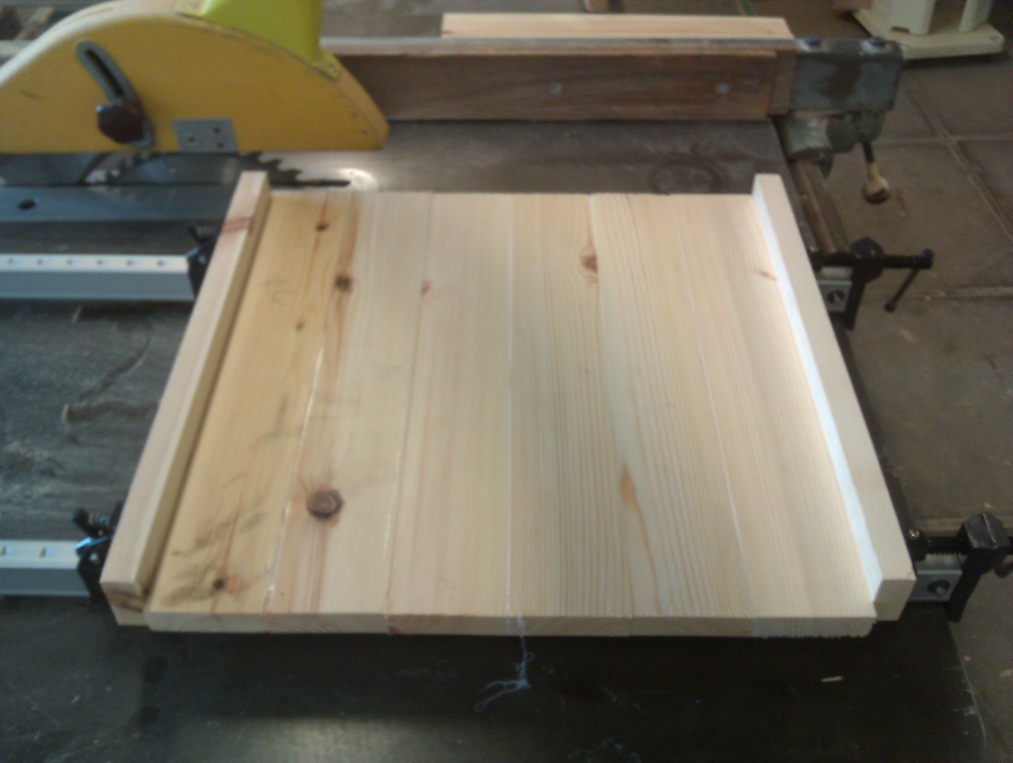
We started on our wooden table project and glued the table top together, I’m looking forward to making the antique-style table legs next session


![IMG_0288[1]](https://kerrysmakerblog.wordpress.com/wp-content/uploads/2015/03/img_02881.jpg?w=300&h=225)
![IMG_0289[1]](https://kerrysmakerblog.wordpress.com/wp-content/uploads/2015/03/img_02891.jpg?w=225&h=300)
![IMG_0298[1]](https://kerrysmakerblog.wordpress.com/wp-content/uploads/2015/03/img_02981.jpg?w=300&h=225)
![IMG_0311[1]](https://kerrysmakerblog.wordpress.com/wp-content/uploads/2015/03/img_03111.jpg?w=225&h=300)

![IMG_0334[1]](https://kerrysmakerblog.wordpress.com/wp-content/uploads/2015/03/img_03341.jpg?w=300&h=225)


